Using the Animator Component
Unity Animator Tutorial for Students: Activating Animator Bools and Triggers via Scripts
Introduction
The Unity Animator component is a powerful tool for creating complex animations with minimal effort. It allows you to control the flow of animations through parameters like booleans (bools) and triggers, making your game characters and objects come to life. In this tutorial, we’ll explore how to use the Animator component and activate animator bools and triggers from your scripts, making your game interactive and dynamic.
Step 1: Setting Up the Animator Component
Add the Animator Component:
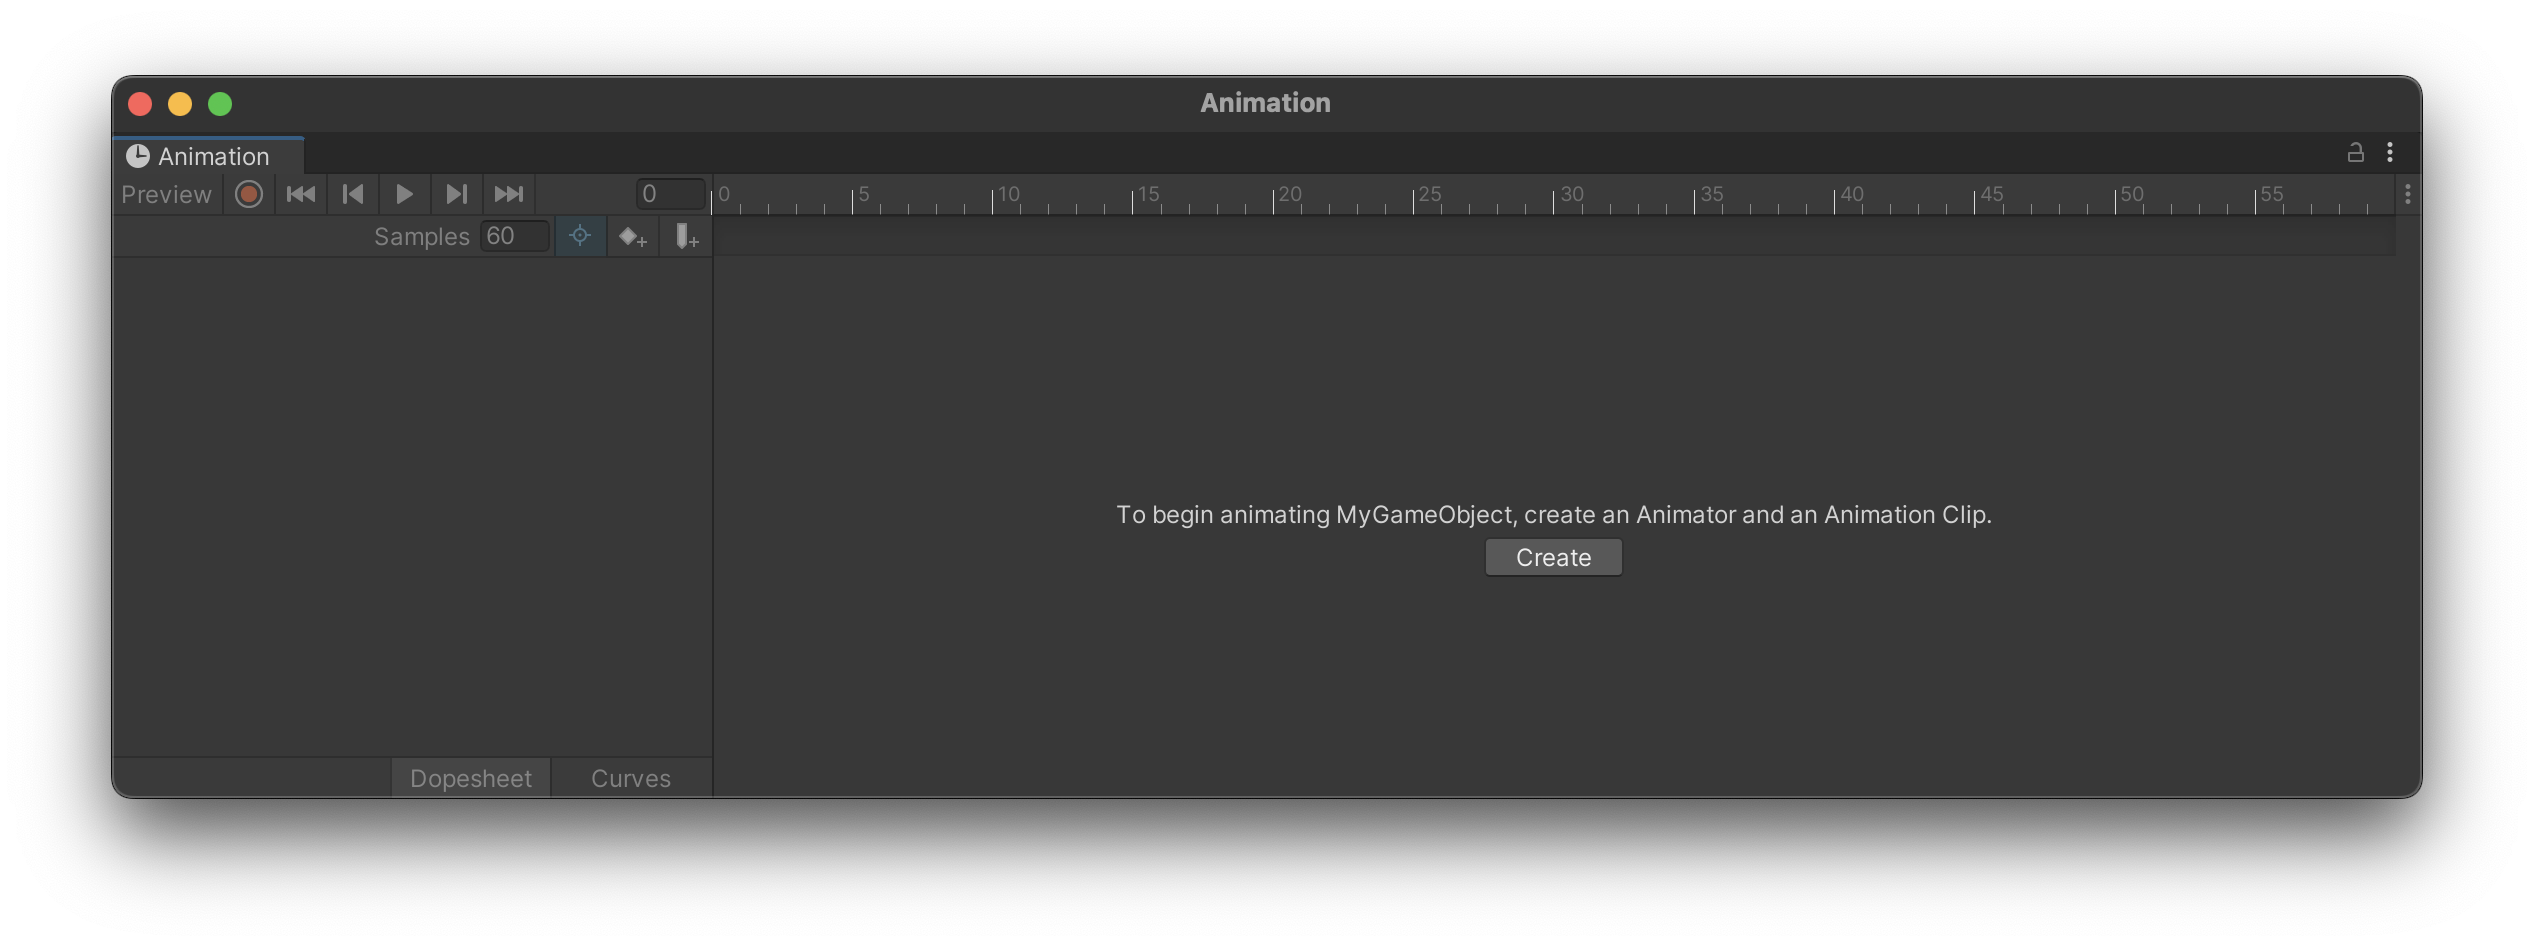
Typically I add the animator component and controller and the first animation all at once by selecting the object I want to animate in the hierarchy and then opening the animation window (windows>animation) and then clicking the “Create” button in the animation window.
Step 2: Configuring Animator Parameters
-
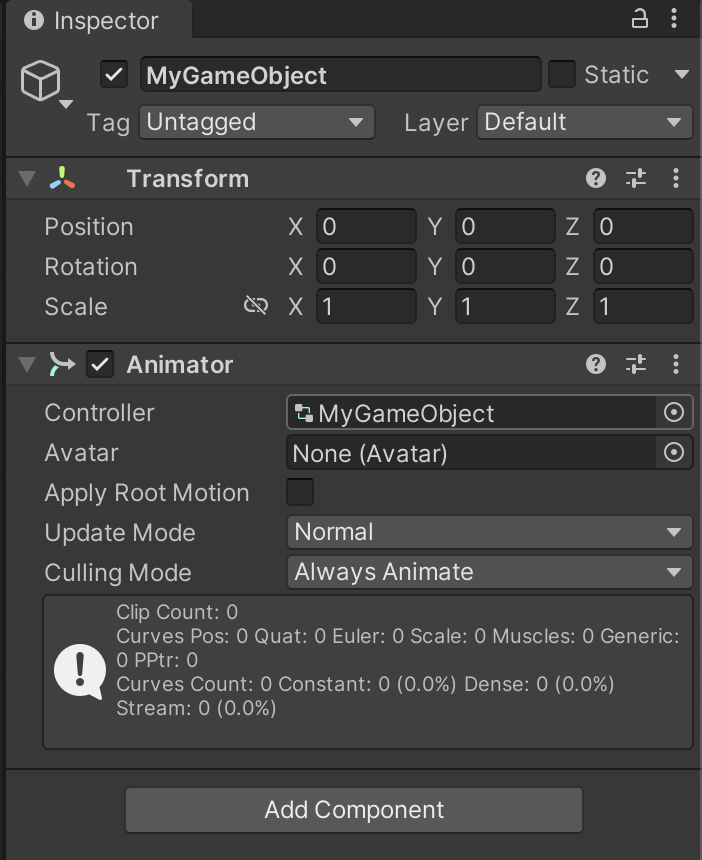
Open the Animator Window: With the Animator Controller selected in the Project window, open the Animator window by selecting “Window” → “Animation” → “Animator” from the top menu or by double clicking on the Name of the Animation Controller in the Animator portion of the inpsector.
-
Add Parameters: In the Animator window, you’ll see a tab called “Parameters.” Click the “+” button to add a new parameter. Choose “Bool” for booleans or “Trigger” for triggers. Name your parameters according to their intended use (e.g., “IsRunning” for a boolean, “Jump” for a trigger).
Step 3: Creating Transitions
- Set Up States: Ensure you have animations imported and available in your project. Drag these animations into the Animator window to create states.
- Create Transitions: Right-click a state (e.g., Idle) and select “Make Transition.” Click on another state (e.g., Running) to create a transition between them. Select the transition arrow to configure its conditions in the Inspector. For example, you can make the transition occur when “IsRunning” is true.
- Adjust Transition Settings: In the Inspector, under the “Conditions” section, add a condition based on the parameter you created. Adjust settings like “Exit Time” and “Transition Duration” to refine how animations blend together.
Step 4: Controlling Animations from Scripts
- Accessing the Animator Component: First, you need to get a reference to the Animator component in your script. Place the following code in your MonoBehaviour script:
private Animator animator;

void Start()
{
    animator = GetComponent<Animator>();
}
- Activating Bool Parameters: To change the value of a bool parameter, use the
SetBoolmethod. For example, to activate the “IsRunning” parameter, you would write:
animator.SetBool("IsRunning", true);
To deactivate it, simply pass false instead of true.
- Activating Trigger Parameters: To activate a trigger parameter, use the
SetTriggermethod. For instance, to trigger a “Jump” animation, you would write:
animator.SetTrigger("Jump");
Remember that the parameter names in your code must exactly match those in the Animator- this includes capitalization!
Step 5: Testing Your Setup
- Play Your Scene: After setting up your animations and scripting their controls, press the Play button in Unity. Test your character’s or object’s animations by triggering the conditions you’ve set up in your script, such as moving to see if the running animation plays.
Conclusion
By mastering the Animator component and learning how to control it through scripts, you can create dynamic and responsive animations for your games. Experiment with different parameters and transitions to see how they affect your animations. Remember, the key to smooth and natural animations lies in careful adjustment of transition settings and understanding how animations blend together.